Handling Wood to Tile Transitions or Carpet to Tile Transitions
Handling flooring transitions from one material to another, like hardwood to tile or carpet to tile, is a common challenge for homeowners. When remodeling in sections rather than starting from scratch, different floor heights and visual transitions must be taken into account. These transitions are not only about aesthetics but also functionality.
To achieve a same-height or flush transition between flooring materials, careful planning and potentially additional construction expenses are often necessary. If extra construction is not feasible, choosing the right sloped transition strip or threshold becomes crucial in mitigating the flooring transition. By engaging in creative discussions with your installer and thoughtful planning, you can find pleasant solutions for any flooring transition problem.
Key considerations when transitioning between tile and wood or other materials include:
- Aesthetics
- Location of installation
- Installation technique and order
- Floor height variations and underlayment
- Material thickness and thin-set application
Aesthetic Considerations
Transition with Borders:
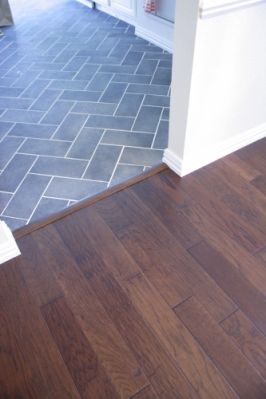
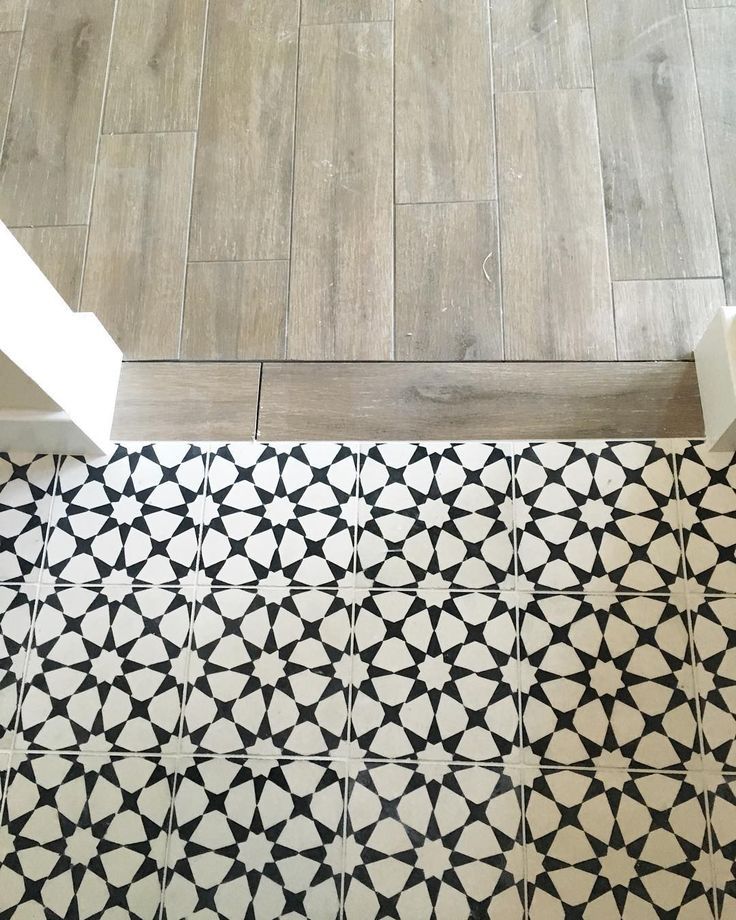
When transitioning from hardwood to tile, one option is to use a border that separates the two materials. If the hardwood planks are perpendicular to the tile, it is generally recommended to border the wood with its own material, typically 1-2 rows of planks depending on their width. This border serves multiple purposes—it caps the cut ends of the planks, provides a continuous straight-edge border for the tile installation, and adds a visually pleasing transition element. It helps create a defined separation between the two materials while maintaining a cohesive aesthetic.
Transition without Borders:
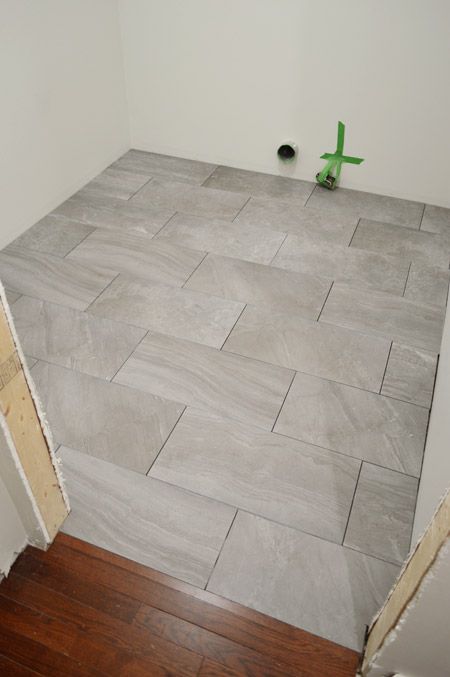
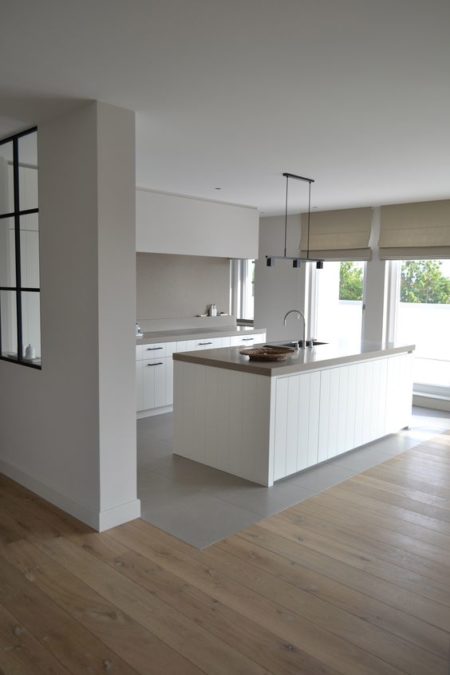
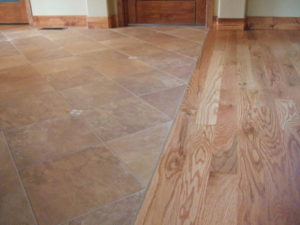
In some cases, if the adjacent material (e.g., tile) is large enough and can function as its own straight-edge in contrast to the cut planks, a separate border may not be necessary. This approach allows the two materials to meet directly without any additional decorative border which results in a seamless transition where the flooring materials visually flow into each other. This approach works best when the two materials have contrasting visual characteristics, such as different colors or textures, creating a distinct separation without the need for a physical border.
Transition at an Angle:
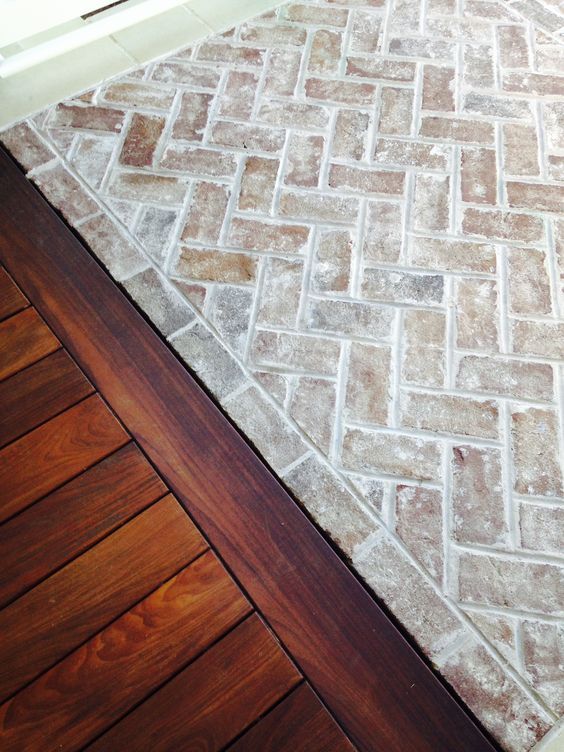
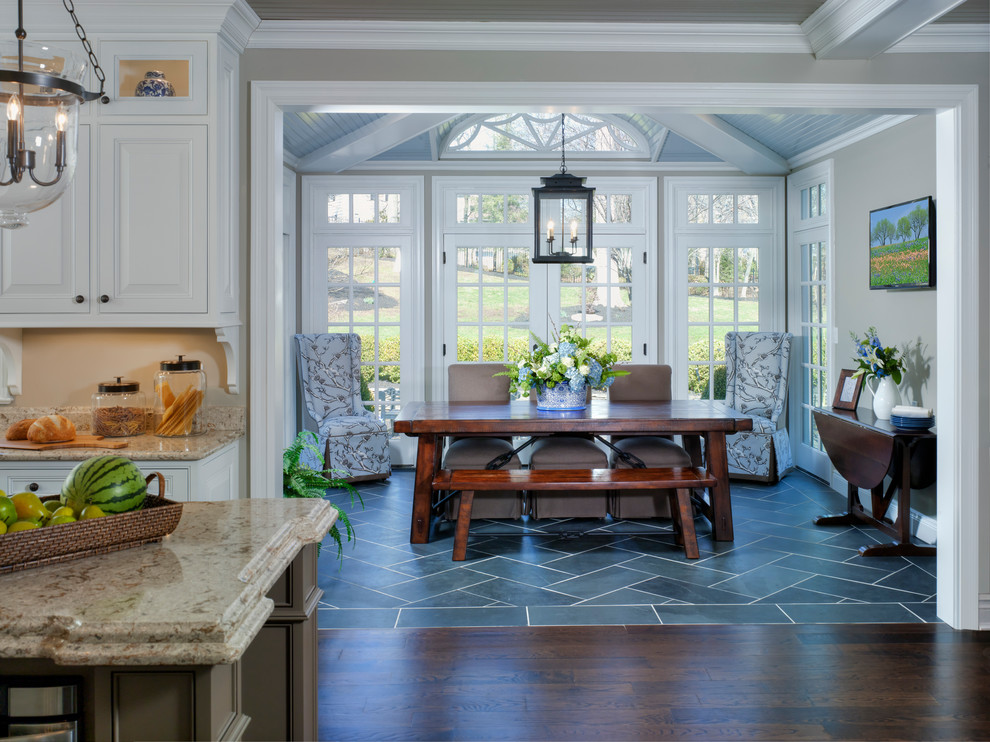
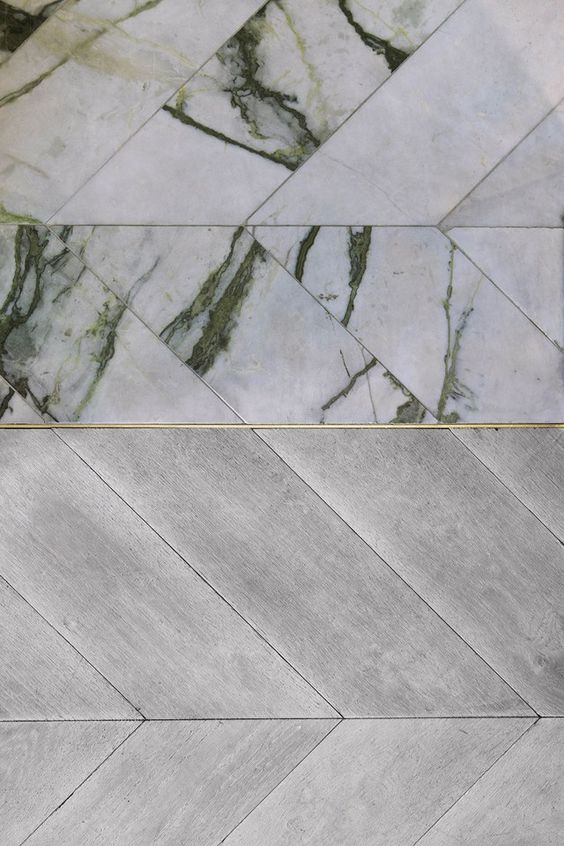
If the materials will be meeting each other at an angle, such as 45 degrees, a transition border becomes essential to maintain a visually appealing transition. In such cases, a “straight edge break” border is required between the change in pattern or direction, even if the same flooring material is being continued. This border acts as a transition element that clearly defines the angle and provides a clean break between the two sections. Long straight-edged borders are needed to ensure the emphasis remains off the joint or awkward short-cut edges of either material.
Using Wide Strips or Decorative Profiles:
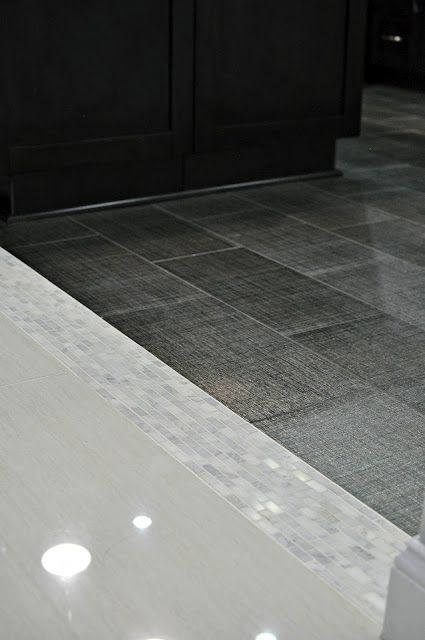
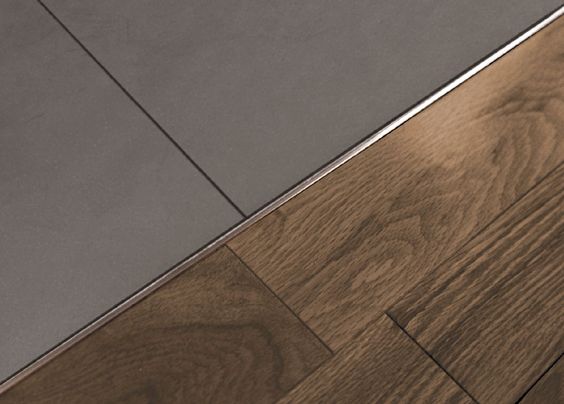
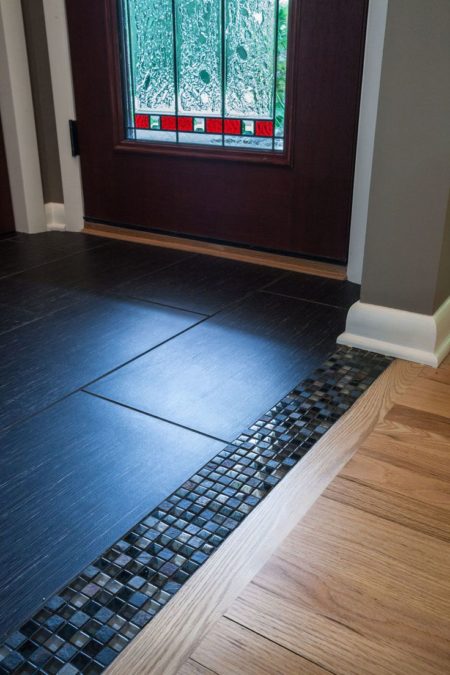
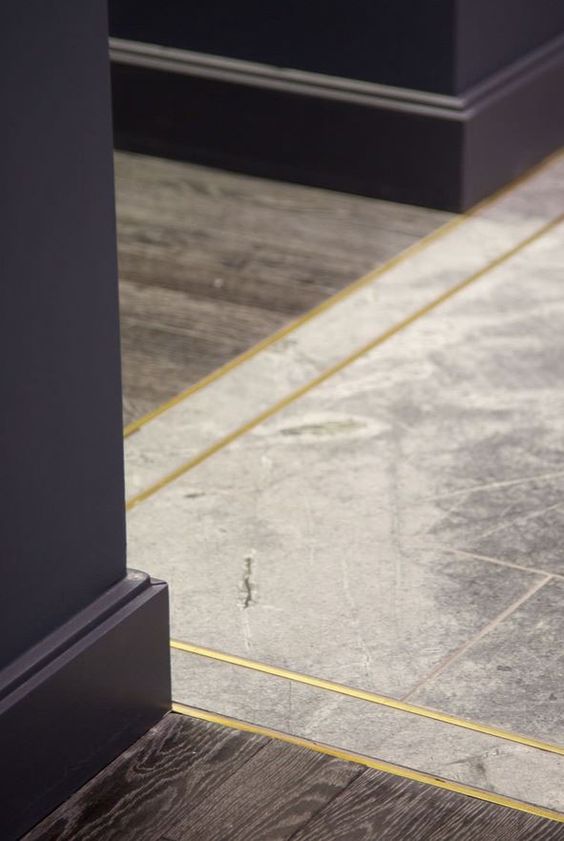
An alternative approach to transitions between flooring materials involves using wide strips of mosaics or pebbles as detailed transition borders. These strips add an eye-catching design element and create a distinct separation between the materials. Another option gaining popularity is the use of “Schluter” strips, which were initially created as tile transition strips but have evolved to include thin decorative metal profiles. These profiles serve both functional and aesthetic purposes, adding intricate details to the transition area and functioning as very thin borders.
By understanding and considering these different transition options, you can choose the one that best suits your design preferences and achieves a visually pleasing and harmonious transition between flooring materials.
Location of Transition Installation
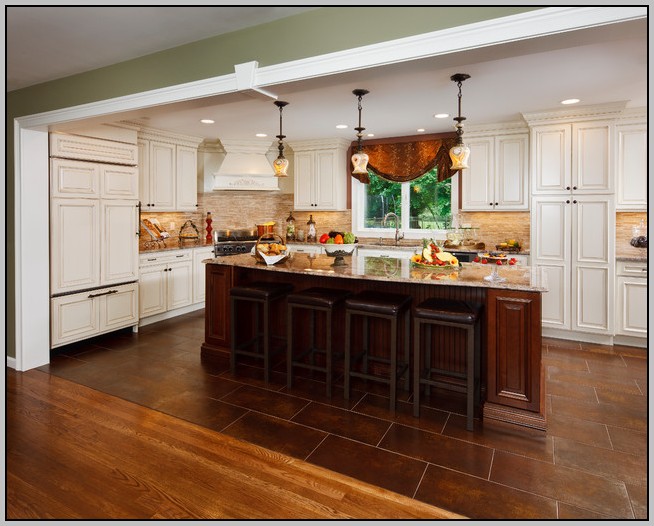
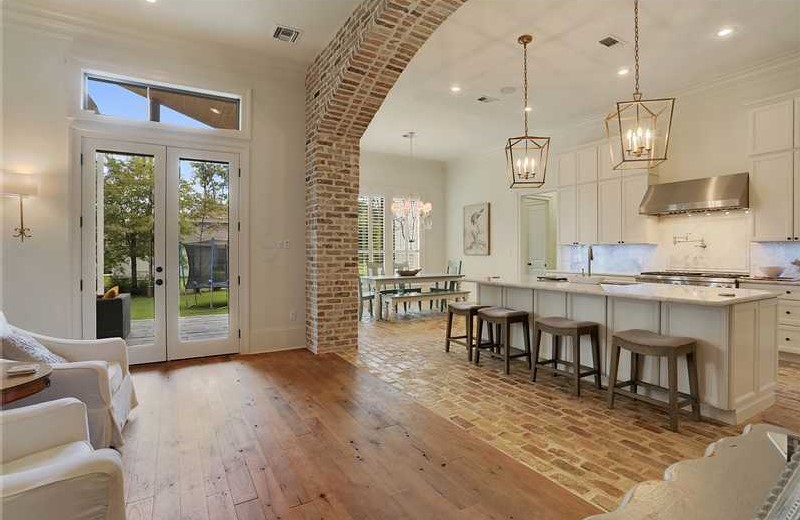
Doorways and arched entryways are natural points of transition, however pillars in open area floor plans provide a wider area to make a break. Just remember that if you make a drastic colorway transition, areas tend to appear broken off and make rooms feel smaller. Continuing a colorway will help an area feel more expansive.
Planning for Floor Height Differences
Achieving a same-height or flush transition between different flooring materials is ideal. However, in remodeling scenarios, it may be challenging to avoid sloped transitions, especially when replacing only a section of the flooring. For instance, tile installations with thin-set and underlayments often result in a higher floor than adjacent materials.
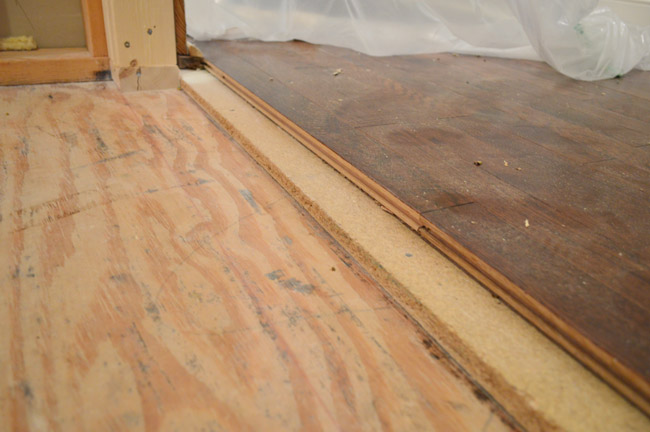
It’s crucial to anticipate and address these floor-height differences during the planning stage. Floors can be “built-up,” but they cannot be “lowered” without additional labor and expense.
Thickness of Flooring Underlayment
When transitioning from a tile floor to a wood floor, considering the thickness of the underlayment is crucial. Fiberboard or cement board can be used as underlayment for tile installations, while wood underlayment is not suitable. These boards are typically available in 1/4-inch and 1/2-inch thicknesses and are mortared and nailed on top of the existing wooden subfloor. Including up to 1/2-inch thicknesses allows you to build up the floor under the tile installation, ensuring the finish face of the tile is flush with the hardwood.
Tile Thickness
Most man-made tiles are around 1/4 to 3/8 inch thick, which can be easily verified when ordering the material. However, natural stone tiles pose a greater challenge as their rough surfaces can vary in thickness. For example, raw slate can range from 1/4 to 1 inch or more, depending on the stone’s variance when cut into tile-sized sections. Always check the thickness of the tile and factor it in when accounting for underlayment and thin-set layers.
Accounting for Thin Set
Tile flooring installations involve the use of thin-set mortar, which has two levels. The first level is applied on top of the subfloor under the tile’s underlayment, usually with a 1/4-inch notch trowel. After compression, this thin-set layer is approximately 1/8 inch thick. The same rule applies to trowels up to 3/8 inch in size for tile application. Larger trowels, like 1/2- or 3/4-inch notched trowels, leave a thicker bed of mortar, up to 1/4 inch for larger tiles. By considering the thin-set thickness, you can accurately calculate the overall height of the tile installation.
Drop-Down Floors
One of the downsides to working with natural stone is that it is virtually impossible to match it up with the thickness of a uniformly cut and flat wood floor. If you are absolutely set on using a specific material that is going to rise above the height of your hardwood floor when you include underlayment and thin set, your only option to flush out is a drop-down floor. This is a box area specific to your installation where the floor joists for that specific area are dropped lower than the surrounding floor. A custom bed of concrete mortar deck mud is then floated on top, around 2 inches thick, and the tile installed on top of this bed. This allows you to adjust the depth of the bed to accommodate for the material and flush out the tile installation to match the wood.
Install Wood Flooring Before Tile
When you are working in an area where you can control the “when” of the installation, it is always best to install hardwood before you worry about the tile. This is because wood installations have a very definite thickness; usually just that of the wood itself, and maybe padding if it is included. Tile installations, on the other hand, require underlayment and various levels of mortar. As a result, it is generally much easier to make up for and adjust a height/thickness variant within the levels of a tile installation. If not, you can pad the wood floor with a layer of wood underlayment or layers of plywood as needed to bring the two surfaces level.
Decorative Transitions
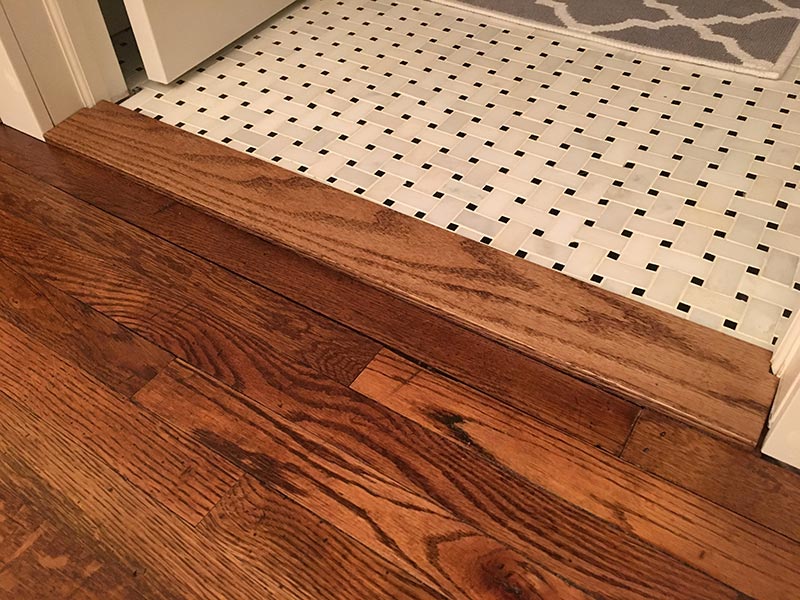
If you do not wish to build up your subfloor you can go with a decorative tile transition strip that is installed along with your new floor. The decorative transition could either be a piece of tile that is at a slight slope to allow for the transition from one floor or room to another or could be a stainless steel or colored profile, such as those offered by Schluter®.
See the various transition solutions offered by Schluter® for same-height or sloped transitions in the sections below.
Not Sure where to Start? Contact Us!
Leave the stress behind and gain access to expert advice on all aspects of tile transitions. We’ll guide you through considerations such as aesthetics, location, installation techniques, thickness of materials, floor height variations, and order of install. Whether you’re looking to incorporate borders for a defined separation, explore angled transitions, or add decorative elements, our design experts will assist you every step of the way. With their wealth of knowledge and creative insights, you can achieve seamless and stunning tile transitions that elevate the beauty of your space. Send us a message today to get started!
Schluter Tile Transition Strips Explained
With Schluter® tile transition strips, you can achieve flawless transitions that enhance the beauty and functionality of your flooring projects. Explore the options offered by Schluter® and enjoy the benefits of their high-quality and innovative solutions.
Benefits of using Schluter® tile transition strips for your flooring projects include:
- Edge protection for your tile installations, preventing chipping and damage to the tile edges. This ensures the longevity and durability of your floors.
- Smooth and seamless transitions between different flooring materials. Whether it’s a same-height transition or a sloped transition, these strips create a visually appealing flow between surfaces, enhancing the overall aesthetic of your space.
- Functional solutions designed to address specific installation challenges. Help eliminate trip hazards, provide transition support, and accommodate wheel carts in commercial applications.
- Various materials, including stainless steel, solid brass, anodized aluminum, and more to that complements your design preference.
- Easy Installation that can be securely bonded or installed with anchoring legs, providing a stable and long-lasting transition solution.
- ADA Compliance: Some Schluter® transition profiles meet the requirements of the Americans with Disabilities Act (ADA) for accessibility and safety in spaces where ADA compliance is necessary.
- Built to withstand daily foot traffic and provide lasting performance in residential and commercial settings.
Schluter Tile Transition Strips For Same-Height Transitions
Schluter®-DECO
Decorative, edge-protection profile
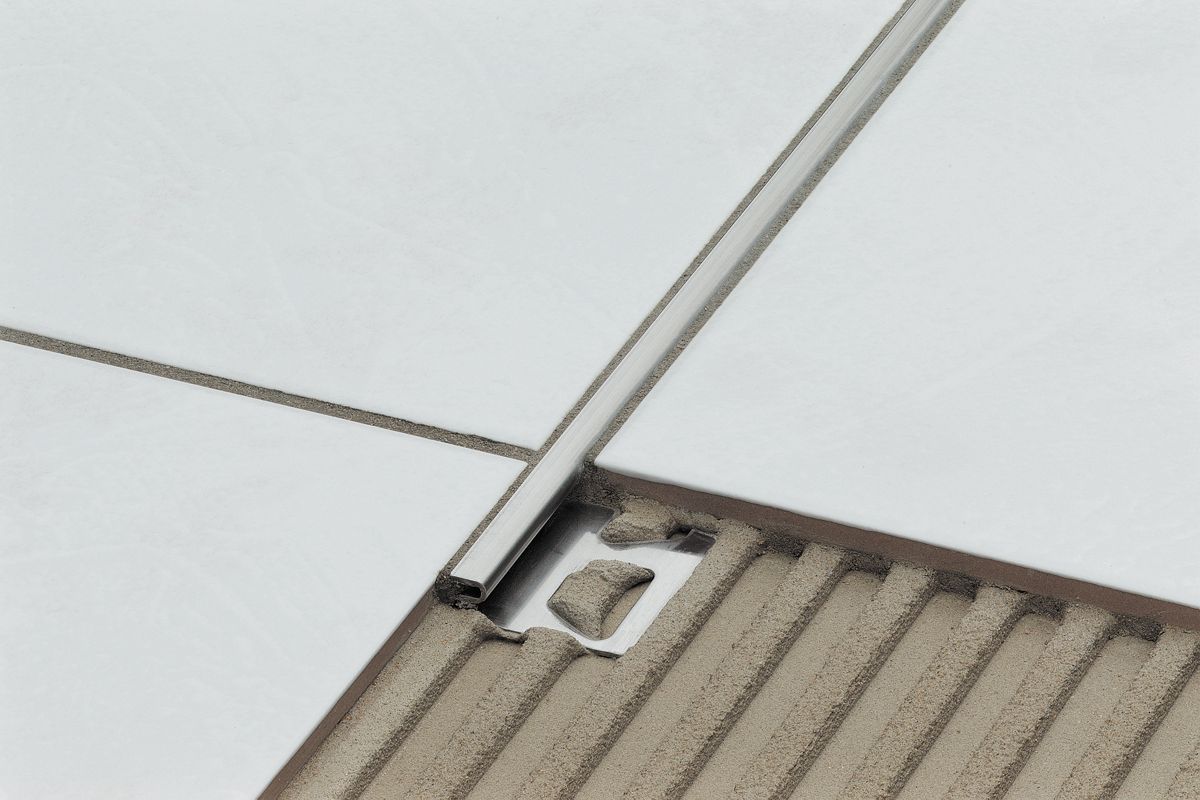
Schluter®-DECO provides decorative lines within tile coverings and edge protection at transitions from tile coverings to other same-height surface coverings, such as wood or carpet.
- Creates decorative lines that enhance the design of tiled floors
- Ideal for floor installations where tile is bordered by carpet or other coverings
- Features a ¼” (6 mm)-wide visible radius for a decorative effect
- In certain materials, the anchoring leg is available with a radius perforation so that the profile can be used to form curves
Schluter®-RENO-T
Edge-protection profile for retrofit applications
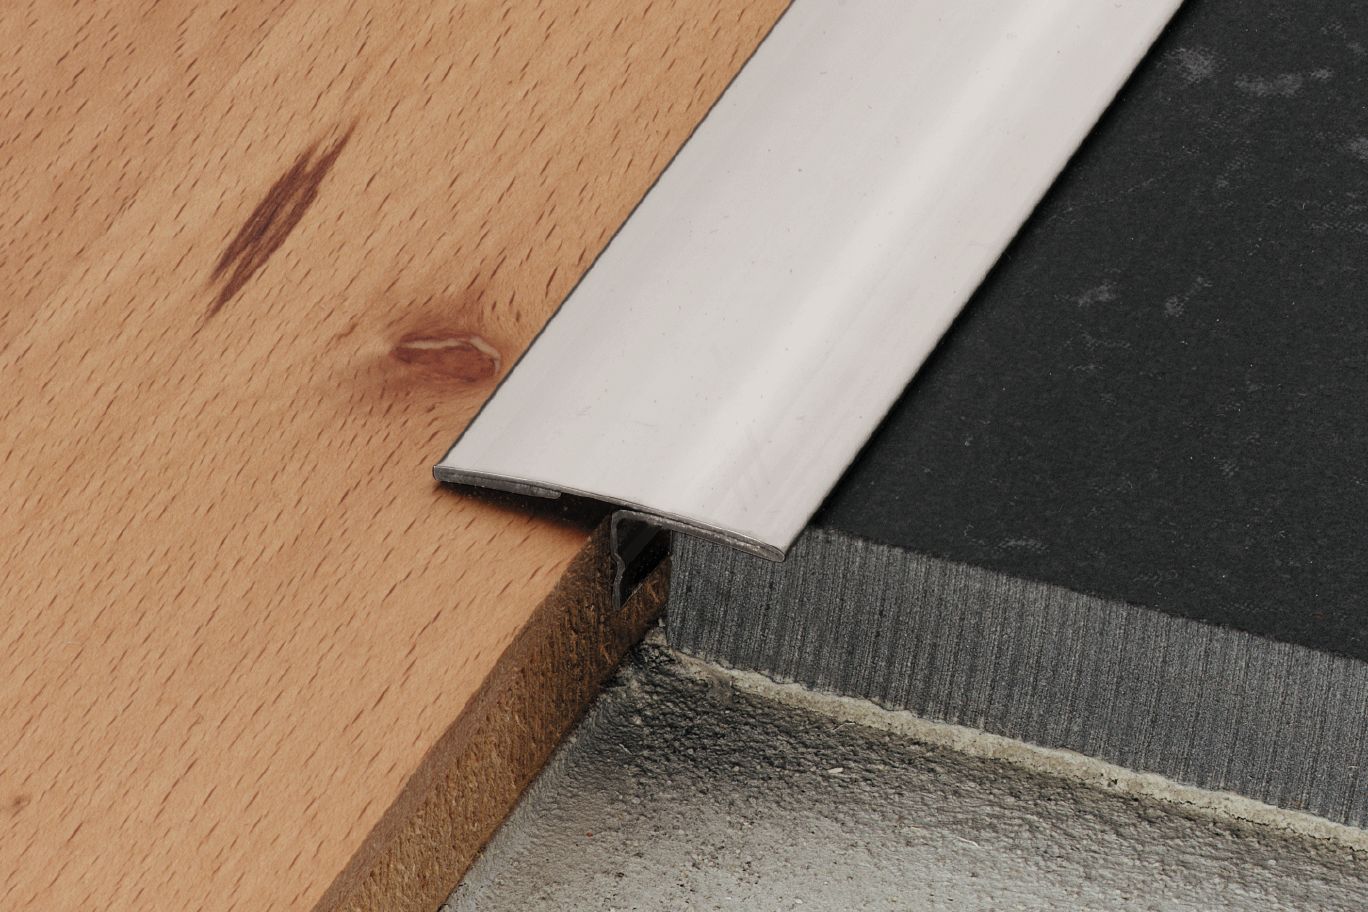
Schluter®-RENO-T is designed to provide transitions between existing, same-height, hard surface floor coverings, primarily in retrofit applications (e.g., ceramic or natural stone, parquet flooring, concrete pavers, laminate, etc).
- Ideal for floor installations where tile is bordered by wood, laminate, or other hard floor coverings
- Designed for floor transitions in retrofit applications
- In certain materials and sizes, the profile is flexible and can be used to form curves
- Available in stainless steel, solid brass, and anodized aluminum
Schluter®-SCHIENE
Finishing and edge-protection profile with minimum reveal
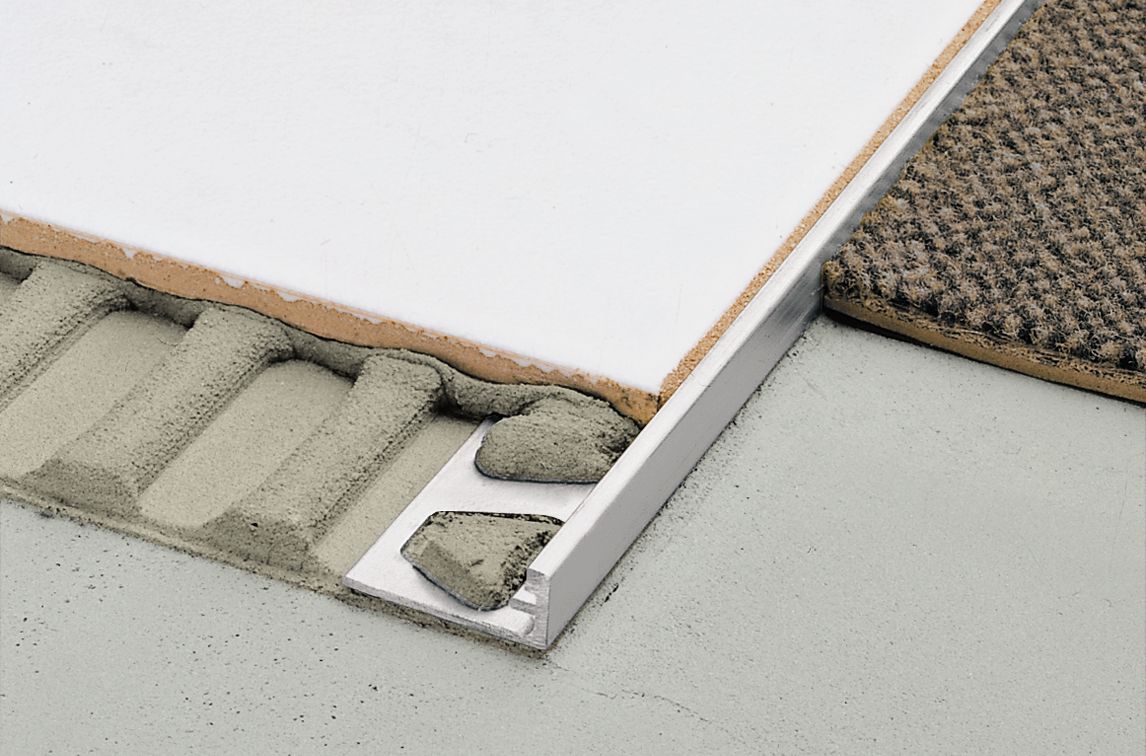
Schluter®-SCHIENE provides effective and attractive edge protection for tile coverings that are typically bordered by carpet, at expansion joints, or as decorative edging for stairs. The profile offers a discreet, minimum reveal which is ideal for creating elegant transitions between floor coverings.
- Ideal for creating transitions on floors
Schluter Tile Transition Strips For Sloped Transitions
Schluter®-RENO-RAMP/-K
Transition profile for sloped transitions to accommodate wheel carts
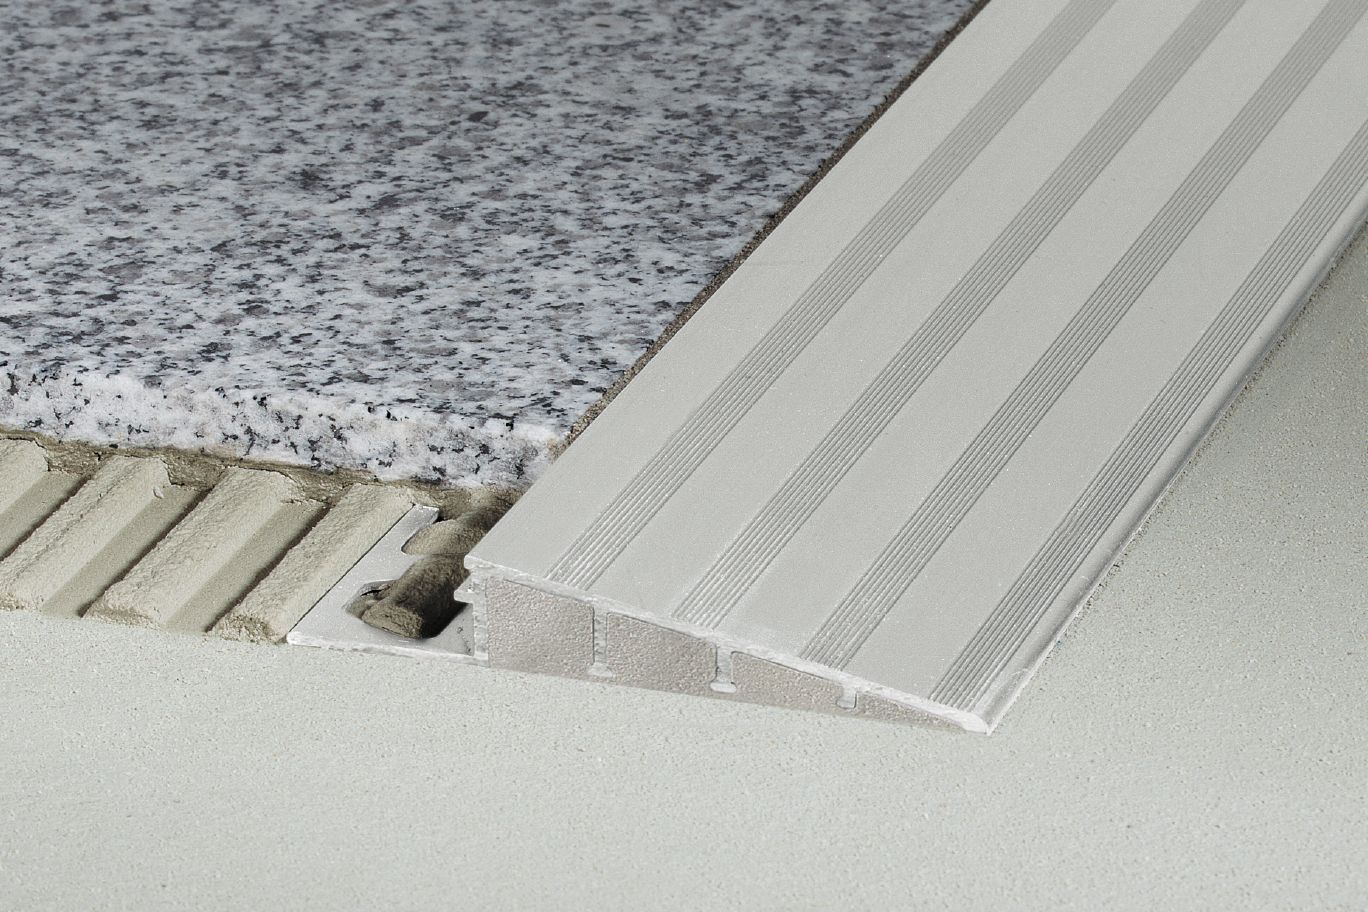
The Schluter®-RENO-RAMP profile is designed for new floor constructions, to create a smooth transition between tile coverings and floor coverings at lower elevations. The RENO-RAMP-K profile is designed to be bonded to existing floor coverings.
- Creates smooth transitions to eliminate trip hazards
- Ideal for transitions from tile coverings to finished concrete
- Suitable for wheel carts in commercial applications
- Certain sizes are ADA-compliant
- RENO-RAMP is installed in conjunction with the tile and features an anchoring leg which is embedded in the tile bond coat
- Switch to RENO-RAMP-K for retrofit applications
- Available in satin anodized aluminum
Schluter®-RENO-TK
Edge-protection profile with minimum reveal for sloped transitions
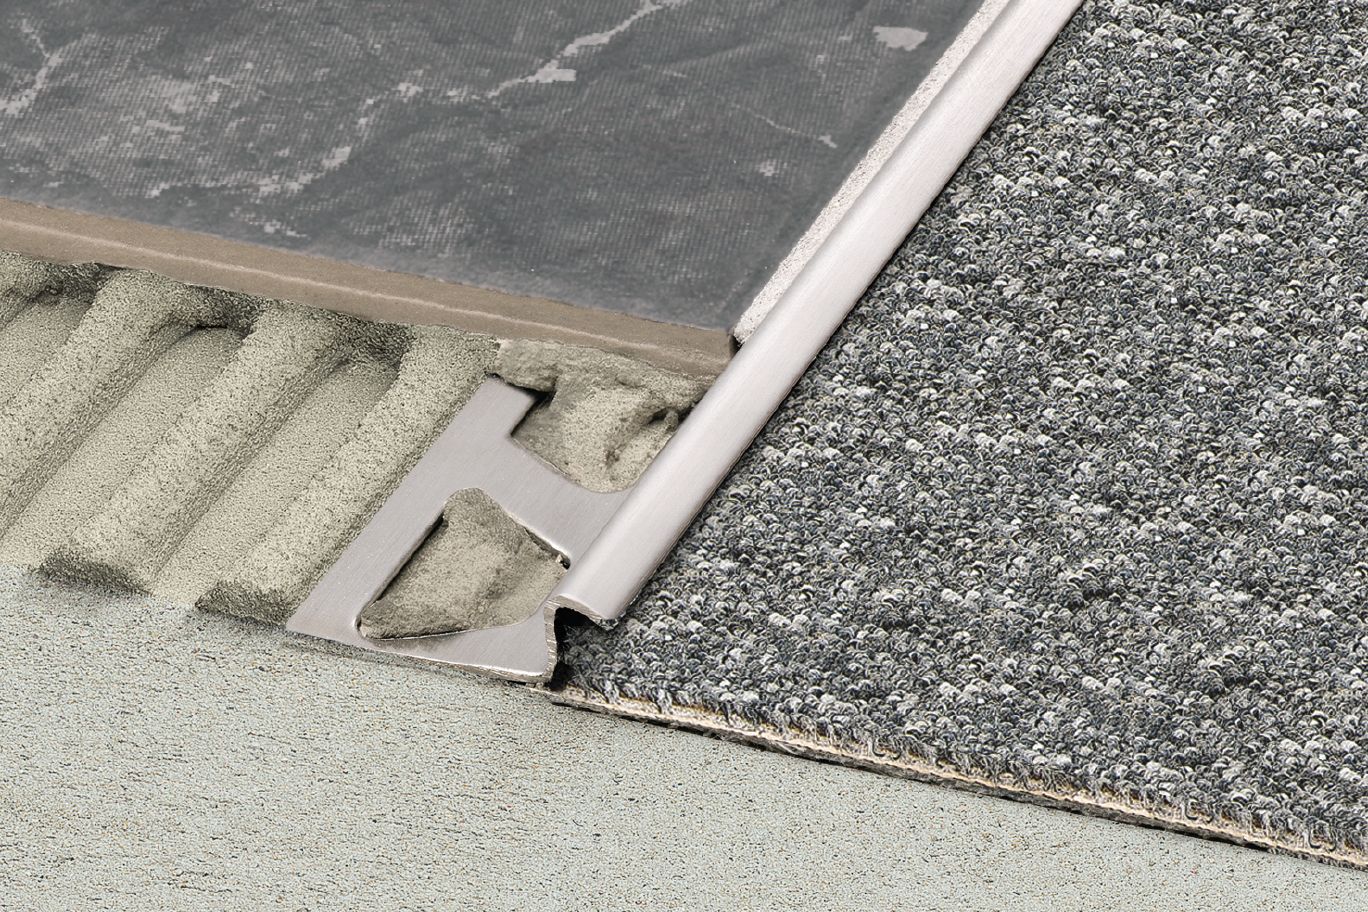
Schluter®-RENO-TK tile transition strips are designed to protect tile edges and provide a smooth transition from tile coverings to floor coverings at lower elevations, typically carpet.
- Typically used to create transitions between tile coverings and carpet at lower elevations
- The 1/4″ (6 mm)-wide channel beneath the sloped flange protects and hides the carpet edge
- ADA-compliant
- In certain models, the anchoring leg is available with a radius perforation so that the profile can be used to form curves
Schluter®-RENO-U
Edge-protection profile for abutting tile to lower transitions
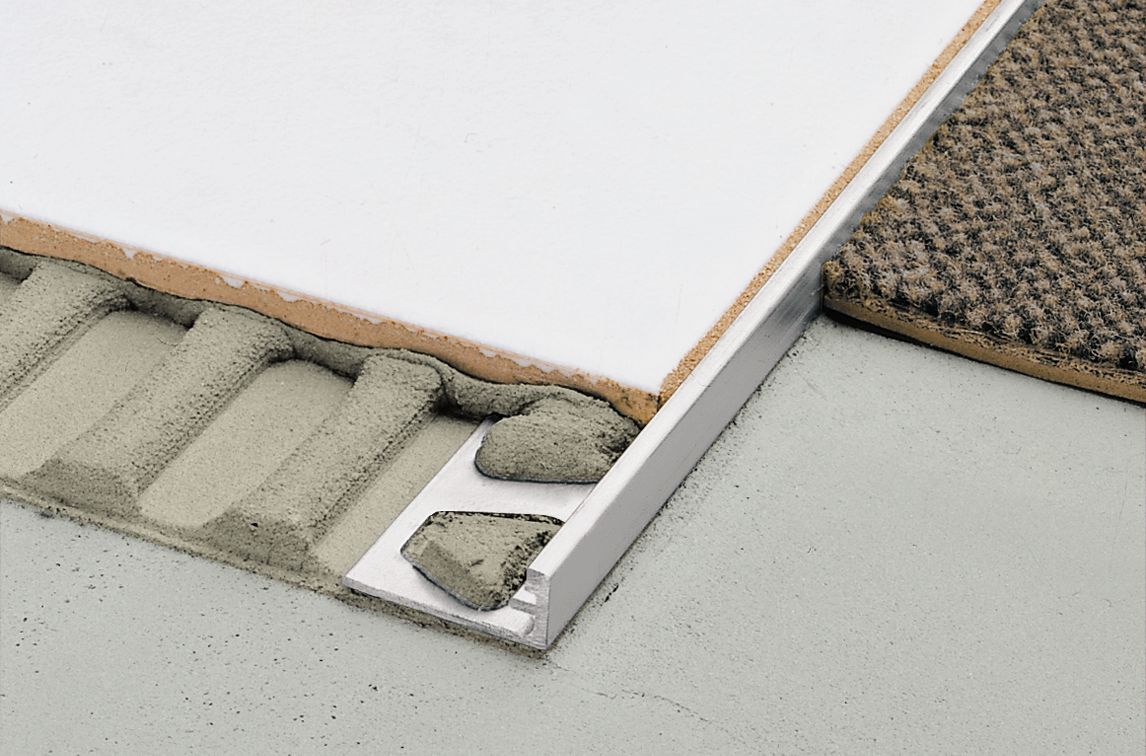
Schluter®-RENO-U is designed to protect tile edges and provide a smooth transition between tile coverings and floor coverings at lower elevations by abutting both surfaces.
- Creates smooth transitions to eliminate trip hazards
- Ideal for transitions from tile coverings to finished concrete
- Certain sizes are ADA-compliant
- Available in stainless steel, solid brass, and anodized aluminum
Schluter®-RENO-V
Edge-protection profile with moveable transition arm
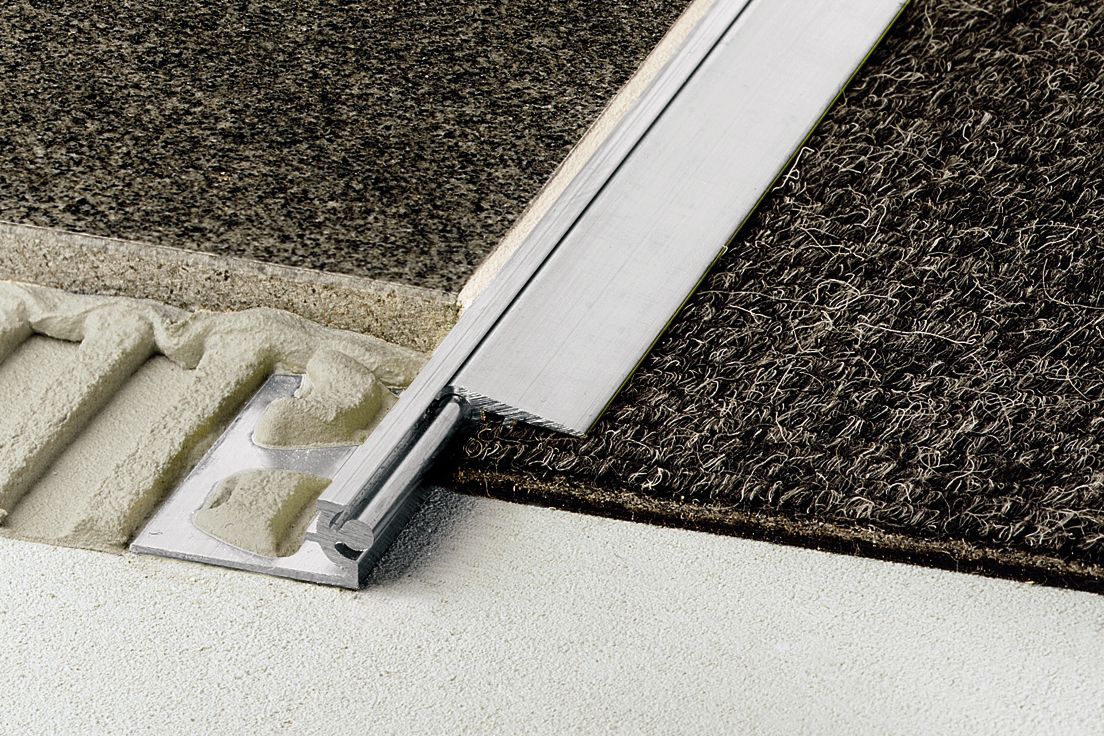
Schluter®-RENO-V is designed to protect tile edges and provide a smooth transition between tile coverings and floor coverings at lower elevations.
- Designed with a moveable transition arm that is adjustable to reach the height of adjacent floor coverings
- Creates smooth transitions to eliminate trip hazards
- Features an integrated joint spacer that creates a defined joint cavity between the tile and profile
- Available in satin anodized aluminum and satin brass anodized aluminum
Additional Resources On Flooring Transitions
Leave the Stress Out and Get Expert Advice!
Are you feeling overwhelmed by the complexities of handling flooring transitions between different materials? Don’t worry, we’re here to help! Our team specializes in providing guidance on achieving seamless and visually appealing tile transitions for your home. Our knowledgeable experts will assess your specific needs, taking into account factors like aesthetics, floor height variations, installation techniques, and more. We’ll work closely with you to develop customized solutions tailored to your unique situation. Contact us today to get started!


